
Whether you’re a budding photographer with the desire to learn new skills or you’ve already blossomed into a talented shooter and are simply looking for inspiration, here are several flower photography tips and techniques worth learning.
First, Learn the Basics
There are several composition techniques that can be applied to many photography genres, and flower photography is no exception. For example, in order to capture great baby photos, you should try filling your frame and shooting from different angles – the same holds true for flower photography.
Filling your camera’s frame with a portion of the flower will highlight its details, really showing off the textures of the petals, pollen, and other parts of the flower. Further, if you fill your frame with the flower, you easily eliminate any distracting backgrounds.

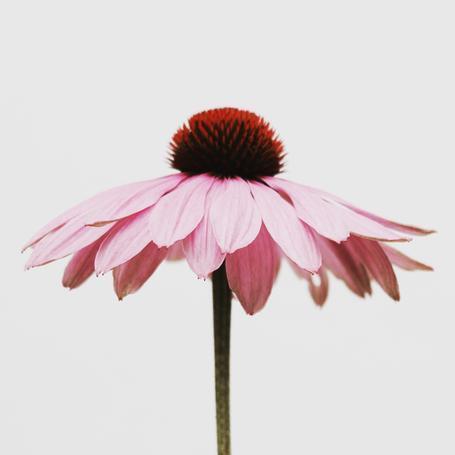
Capturing flower photos from various angles can make the difference between an okay image to a brilliant one. Try positioning your camera so it’s pointing up towards the flower for an interesting shot, or lower your camera so it’s level with the flower. If you’re unable to physically lower yourself in order to compose the shot, forget the viewfinder and shoot blind, some of my best photos have come from “shooting from the hip” or in this case, from the toes.
Try Using Different Camera Settings
If you want to capture a flower in its entirety – in other words, you don’t want to fill your frame with just a few petals – it may be somewhat difficult to isolate it from a distracting or unpleasant background. Try shooting with a wide aperture (small f/ number on your camera) – the result will be a photo with a shallow depth of field, which will blur the unwanted background, focusing the attention on your main subject: the flower.
If you’re not comfortable adjusting the exposure settings on your camera, you can simply choose an appropriate scene mode instead, such as the macro/close-up mode (typically indicated by a flower icon).

Lighting Makes a Difference
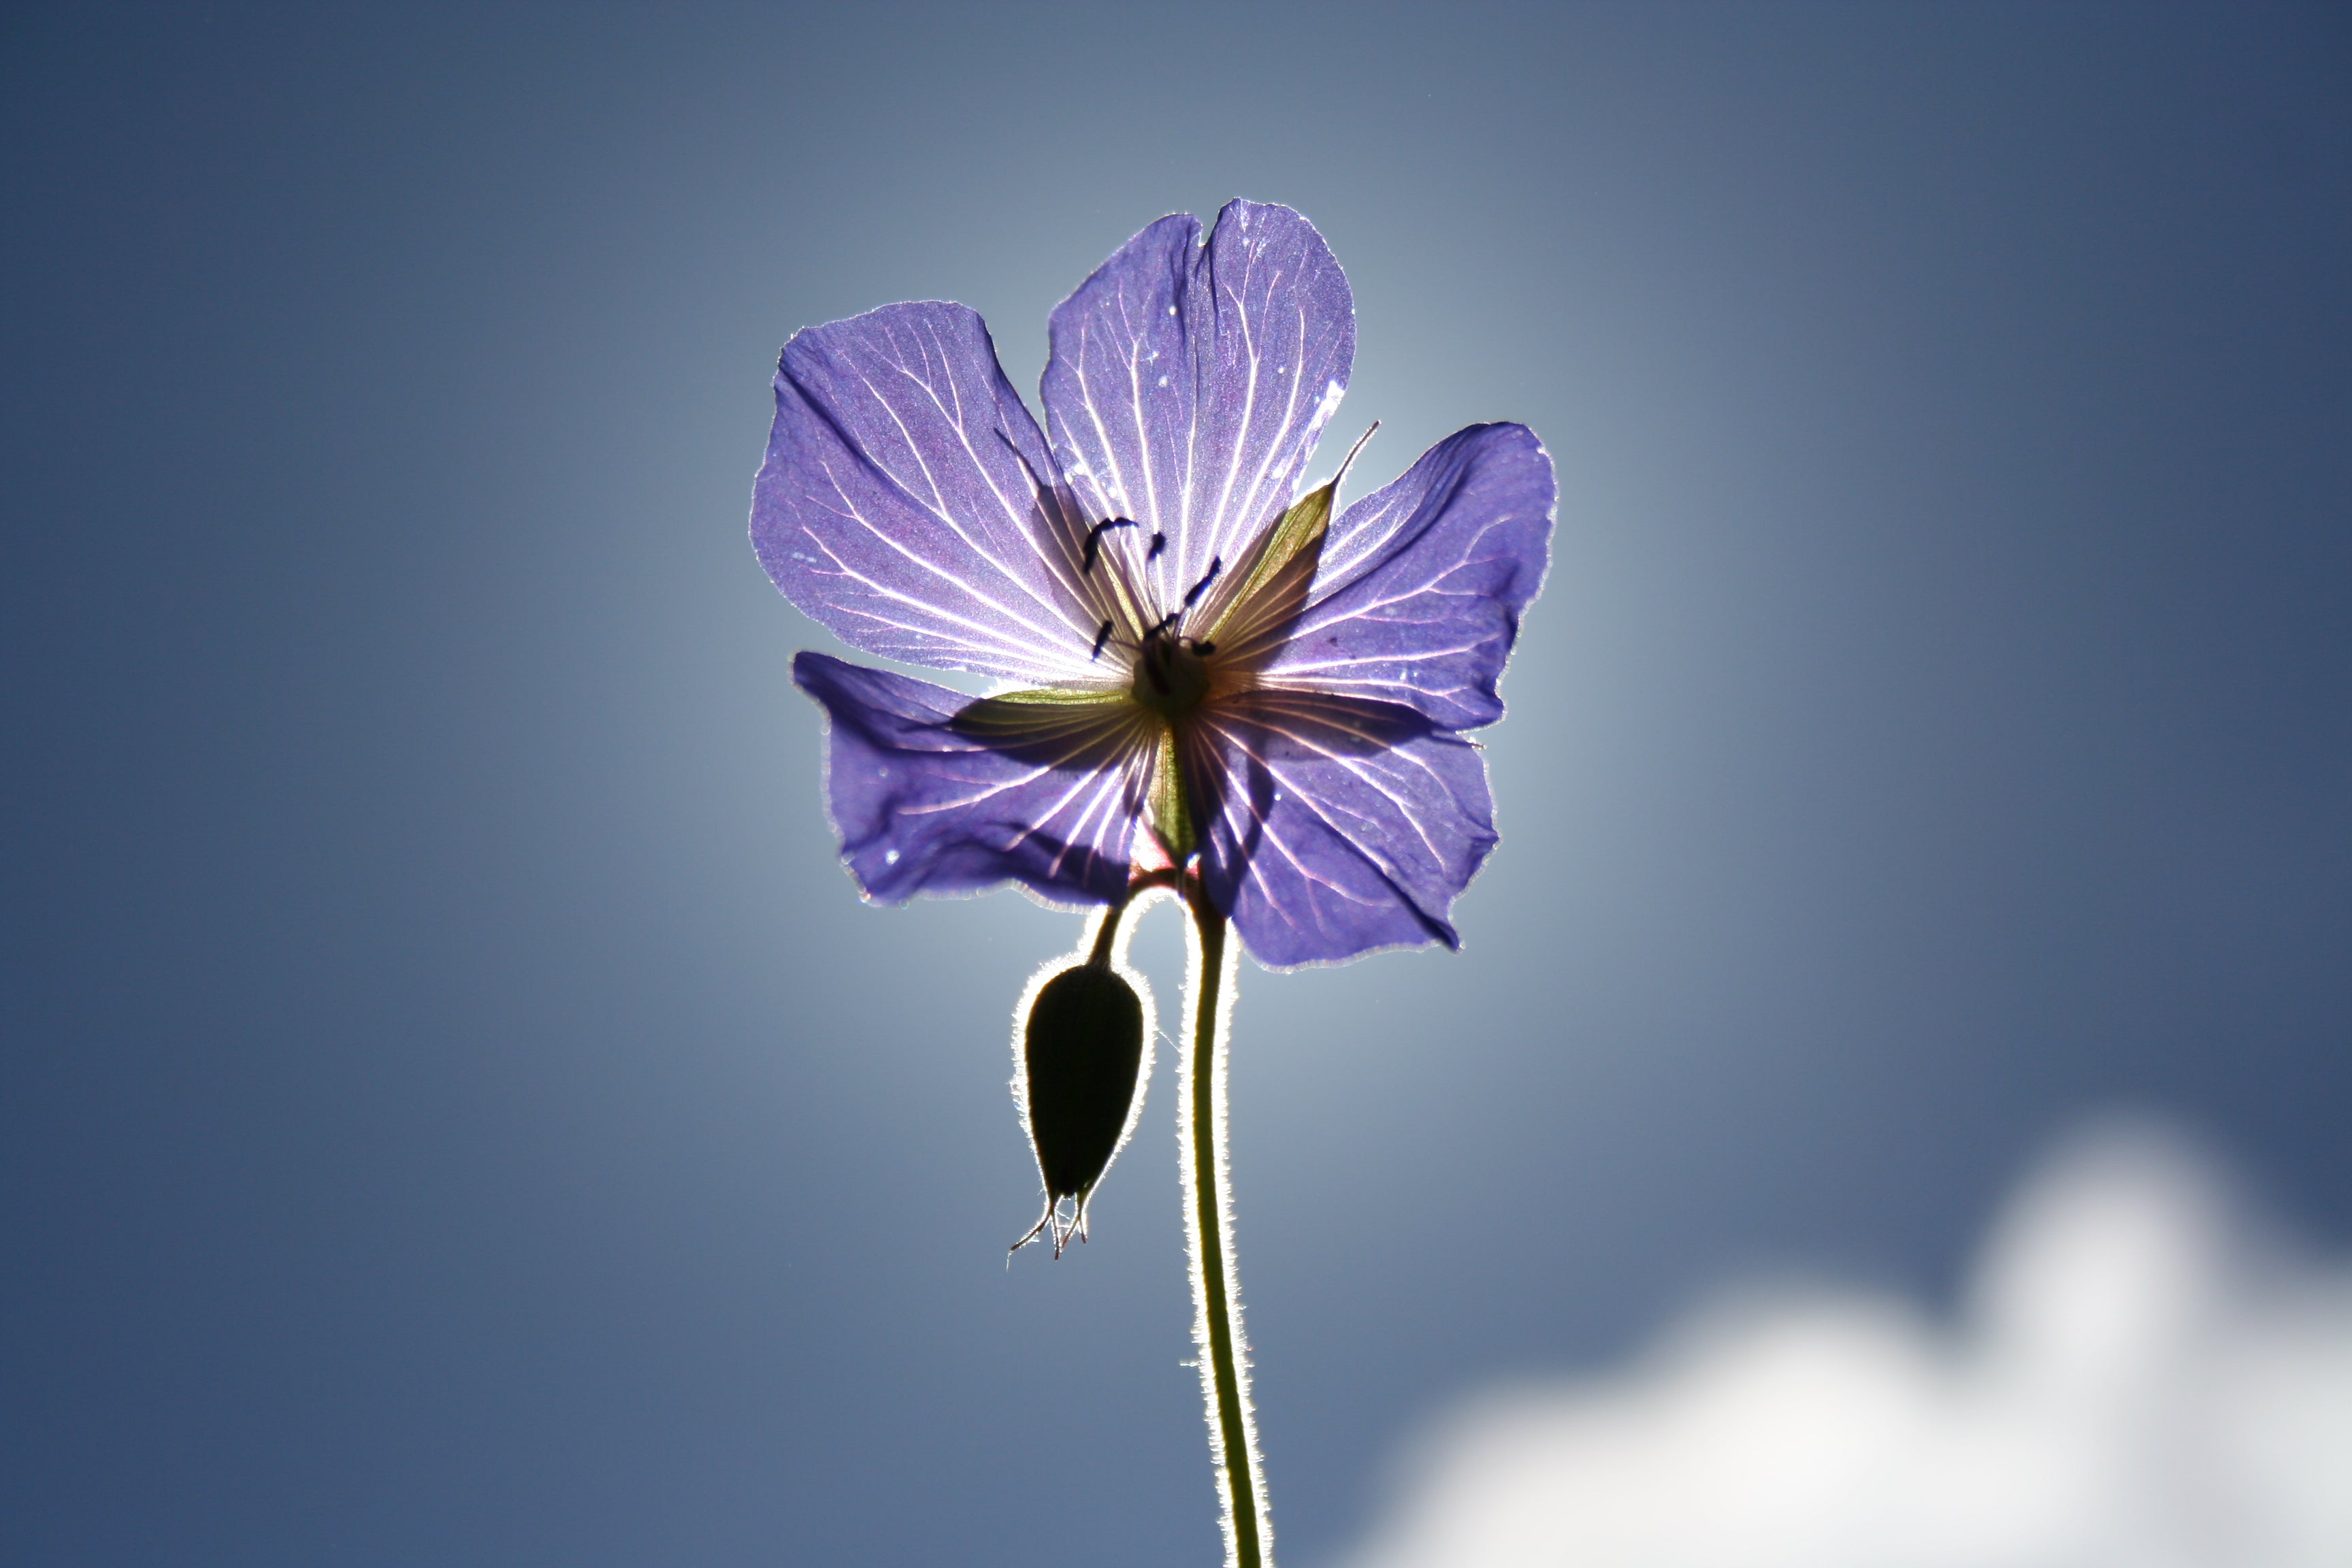
The best time of day to capture any type of outdoor photos is an hour after sunrise and an hour before sunset. Failing that, you can achieve better results, believe it or not, by shooting on cloudy days when the light is diffused rather than bright, sunny days. However, with that said, if you do find yourself out in the middle of the day when the sun is high in the sky, be creative with your positioning, so the flower is directly between your camera and the sun. Backlighting your flowers can really enhance the colours in your photos.
Include Other Subjects
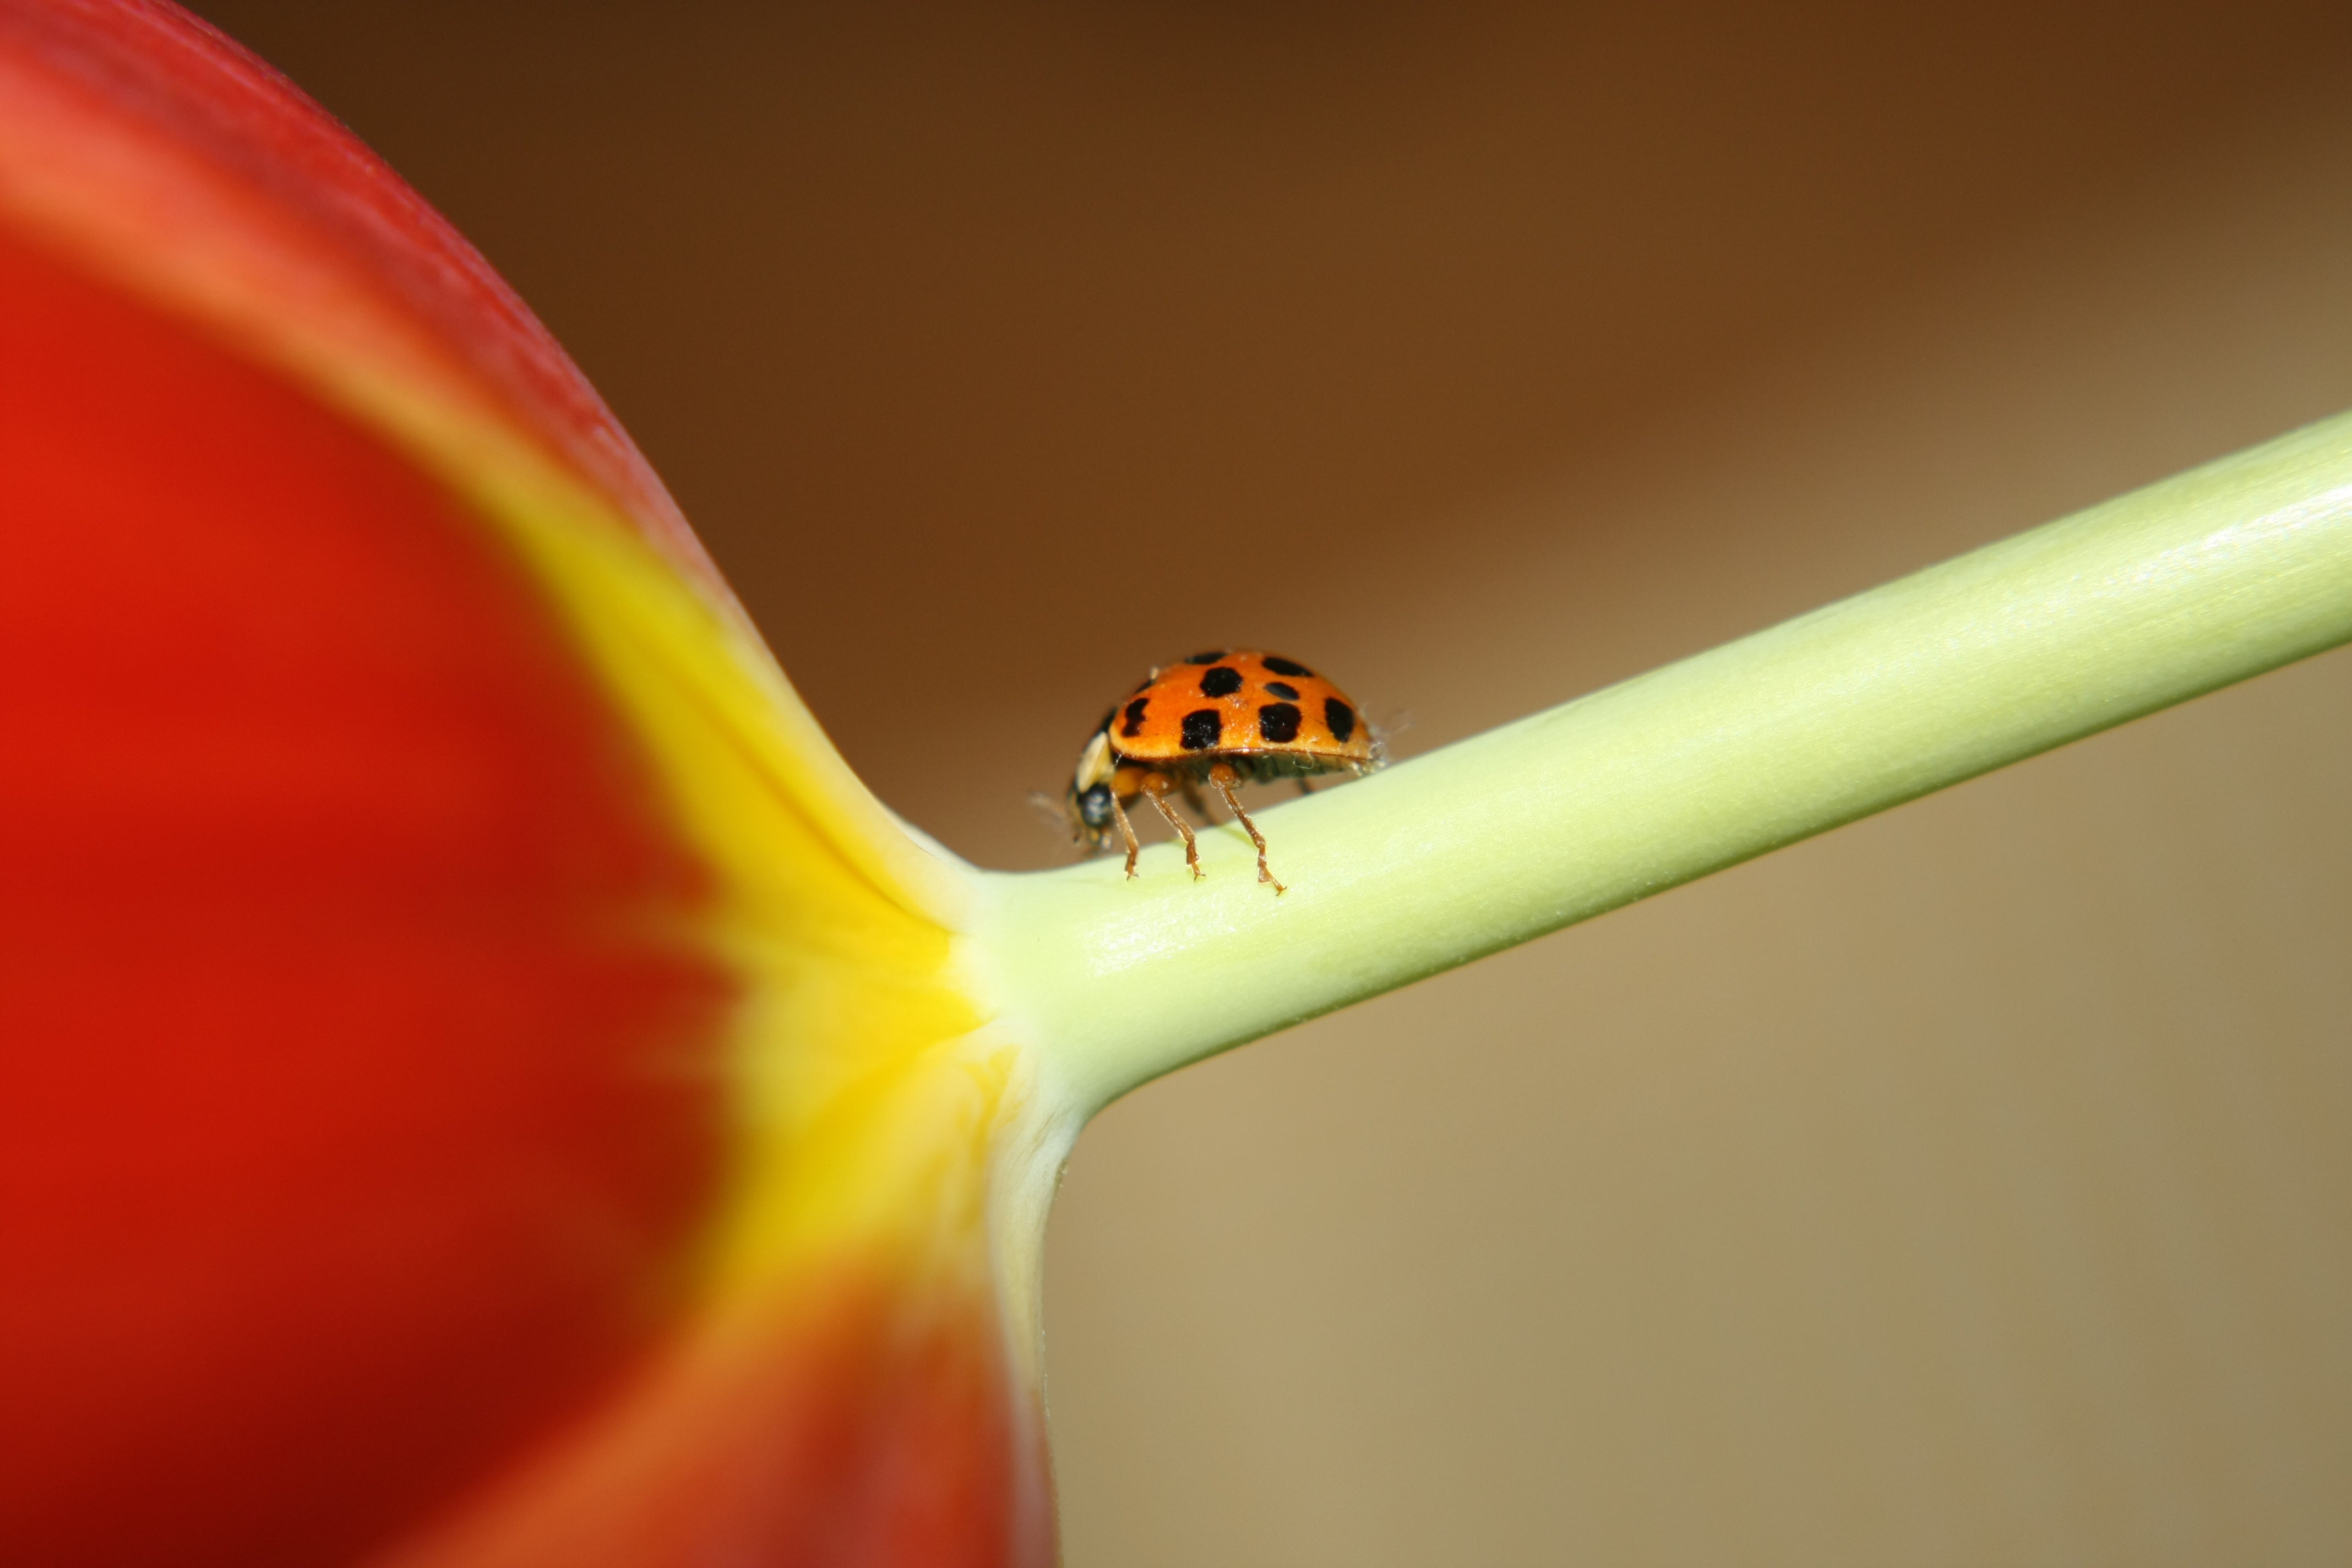
If you’re photographing wild flowers, try scouting out ones that have a spider, ladybug, or butterfly on them for added interest. If you’re not afraid to handle these little guys, there’s nothing wrong with gently adding them to the flower you wish to photograph. If the bug isn’t very active and you find yourself having some control over the situation, remember to follow the rule of thirds by composing the shot so that the bug is positioned either in one of the left or right thirds of the image, or at one of the invisible intersecting lines.

Edit, Share and Show Off!
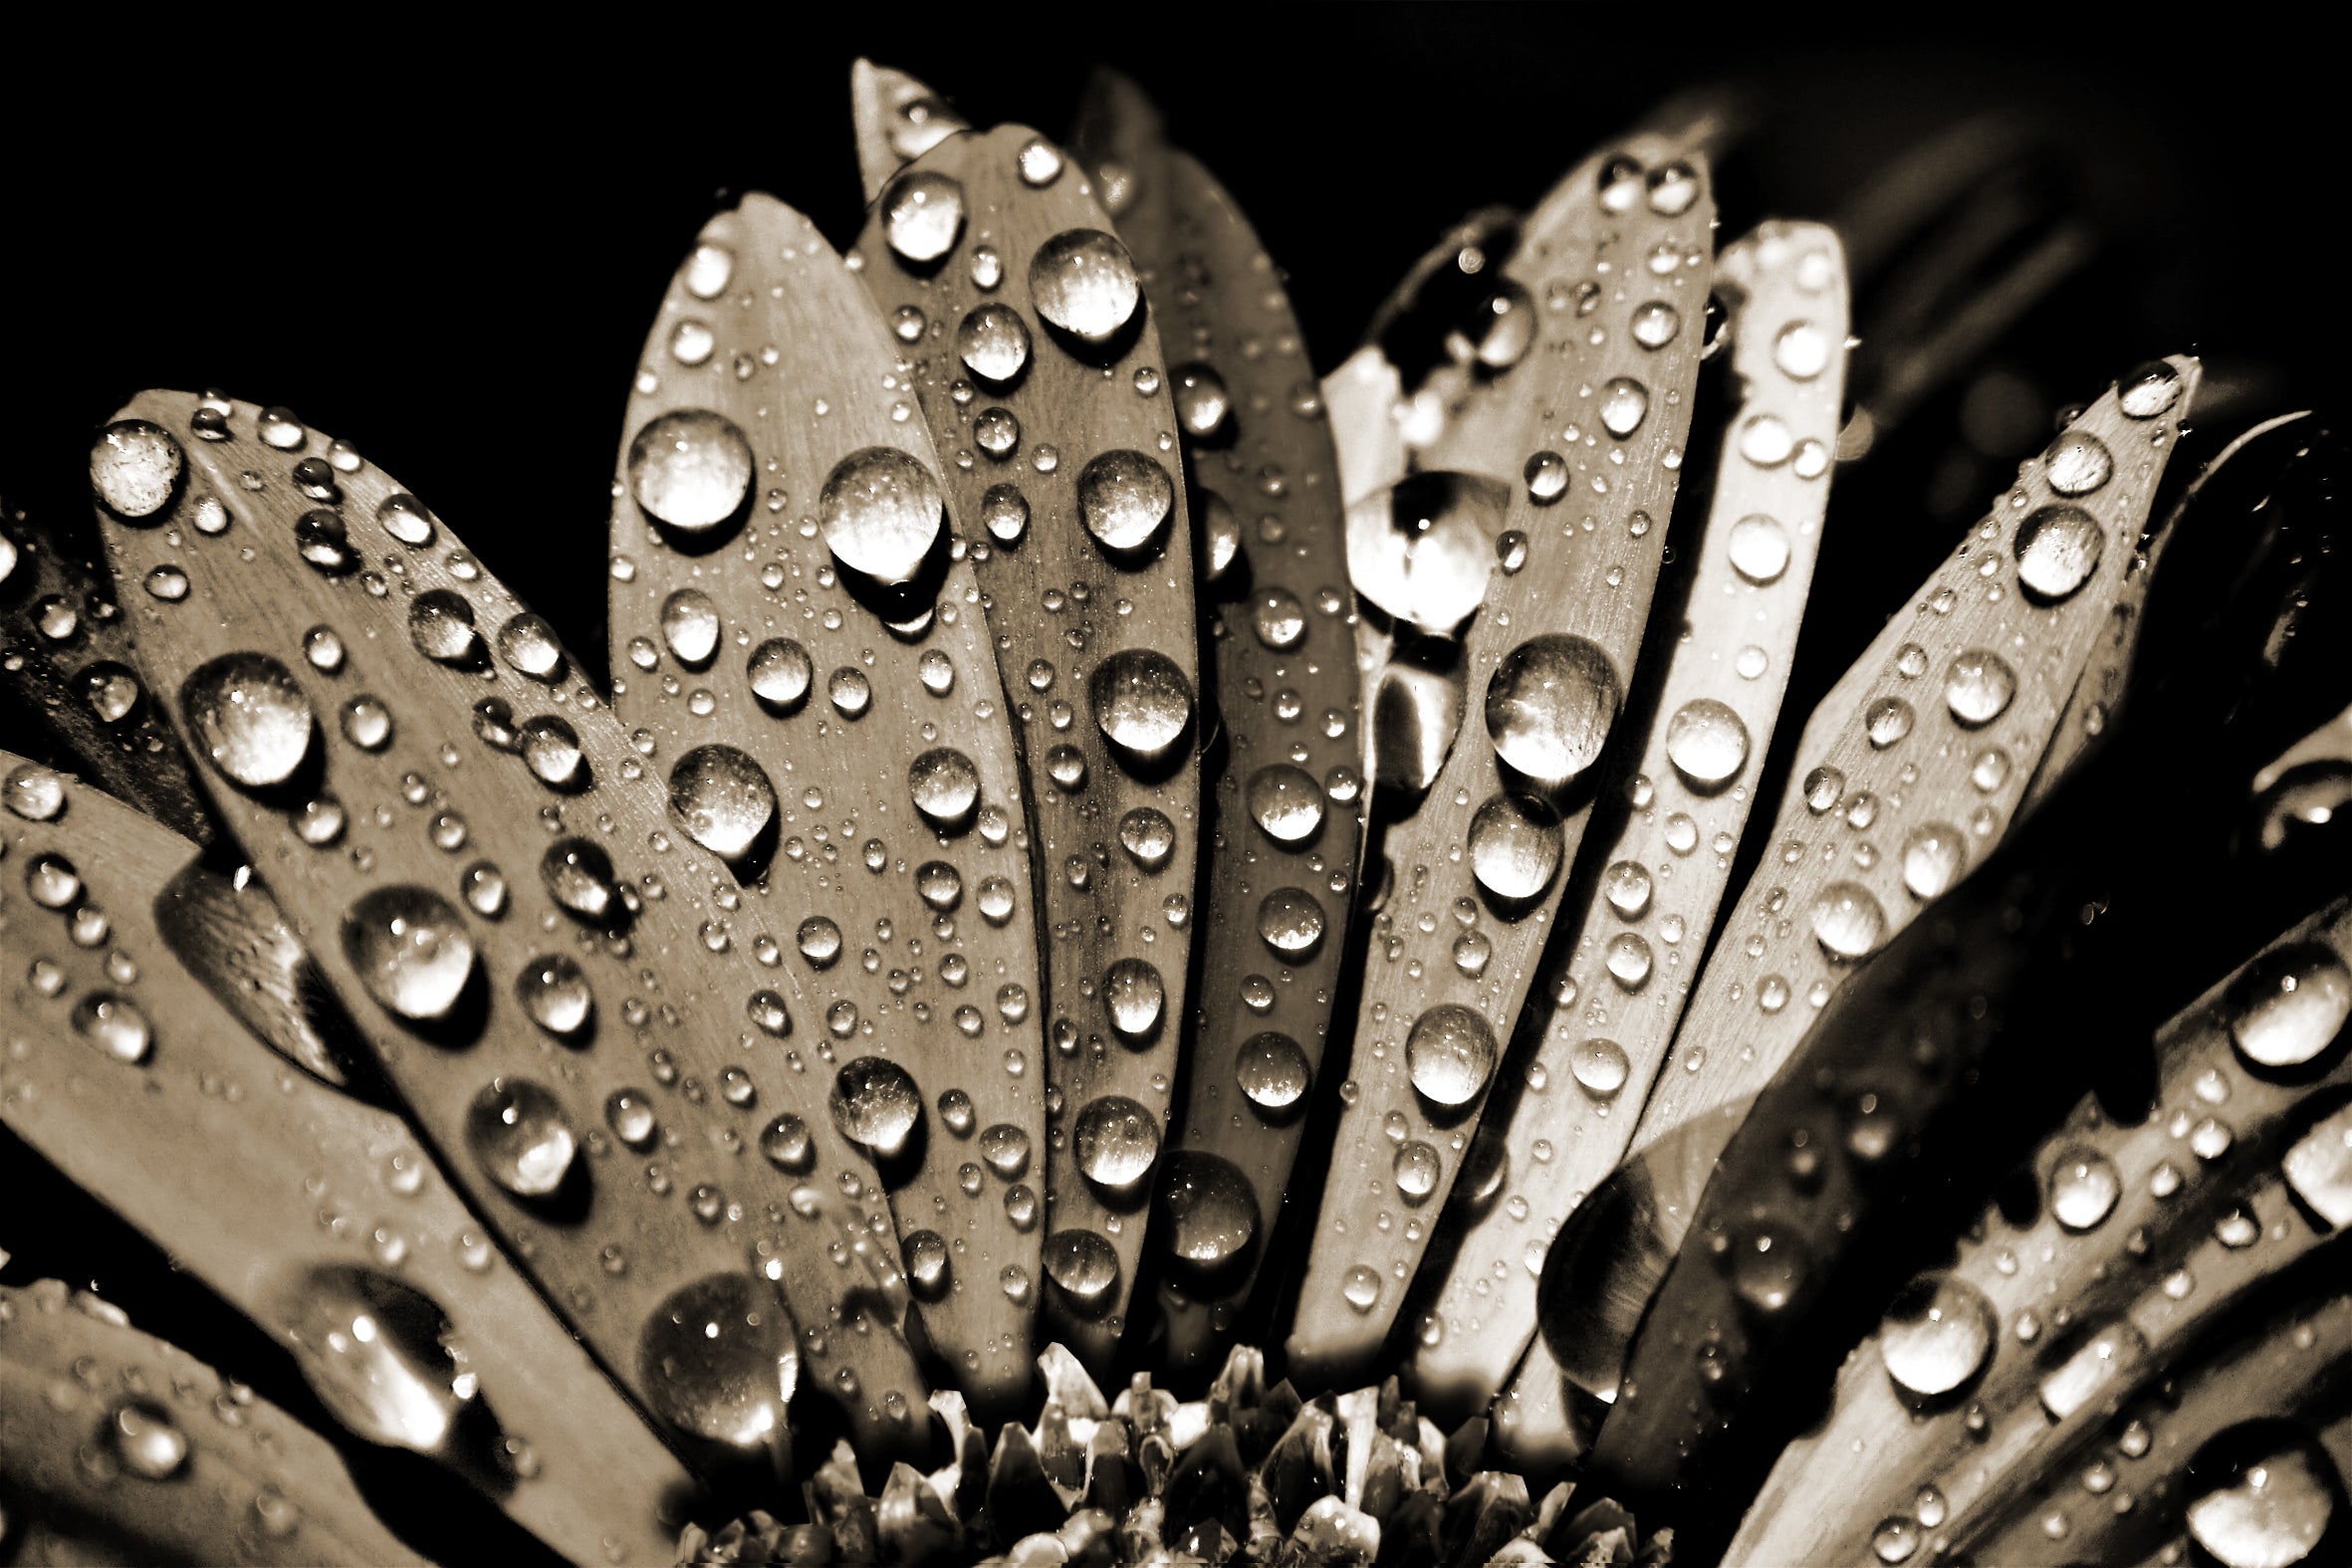
If you were unable to compose your shot as you would have liked to, you can try fixing it using photo editing software. You can use these programs’ artistic effects features to alter your images too. Selective colouring (where the entire photo is in black and white, with only a portion of it in colour) can work well with flower photography: try converting your photo to black and white, leaving only the bug in colour, for example.

Once you’ve got the hang of flower photography and you find yourself with a collection of great images, don’t forget to share them with friends and family and show them off! Flower photos look fantastic printed on canvas or, for something a little more modern, consider having your photos printed directly onto metal!

